
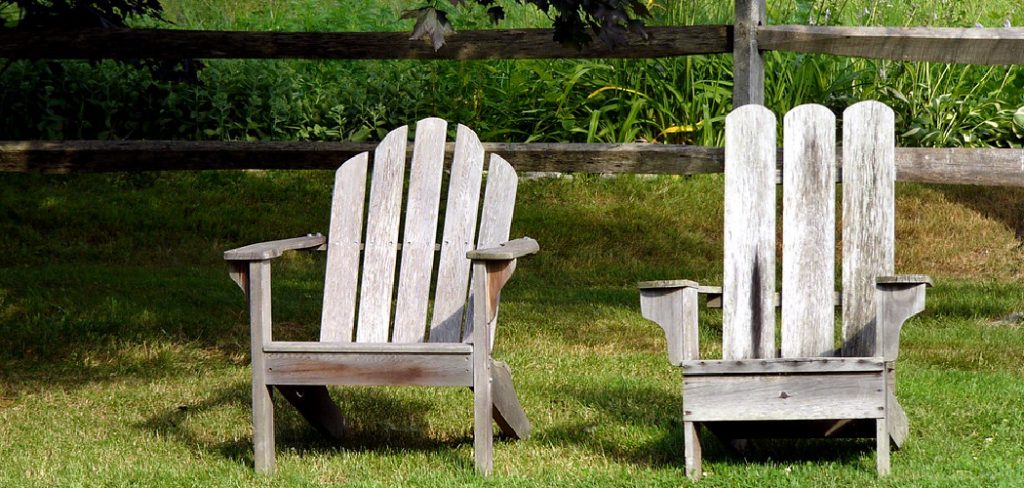
Adirondack chairs are a classic piece of patio furniture that can be found in many yards and patios. Over time, the paint brush or sealant on the chairs can fade or wear away, leaving the wood exposed to the elements. If you have an Adirondack chair that needs to be restored, don’t worry – it’s a project that can be easily done with a few simple steps.
In this blog post, we’ll show you how to restore adirondack chairs using paint brush and sealant. This is a great project for anyone who wants to refinish old furniture or give new life to an heirloom piece. We’ll walk you through the process step-by-step, and we’ll even provide some tips on how to make the restoration last. Enjoy!
Is It Better to Paint or Stain an Adirondack Chair?
This is really a matter of personal preference. If you want something with more color, then painting your Adirondack chair is the way to go. You can use either acrylic paints or latex paints for this job, and both are fairly easy to apply. Acrylic paints will give you a bright finish that won’t fade over time, while latex paints provide more of an opaque look and will need to be touched up periodically.
If you prefer something more natural-looking, then staining your chair may be the better option. Wood stains come in a variety of colors and are great at preserving the wood’s natural beauty while still providing protection from the elements. Keep in mind that wood stain doesn’t offer as much protection as outdoor paint, so you may need to reapply the stain more often.
How to Prepare an Adirondack Chair for Painting or Staining?
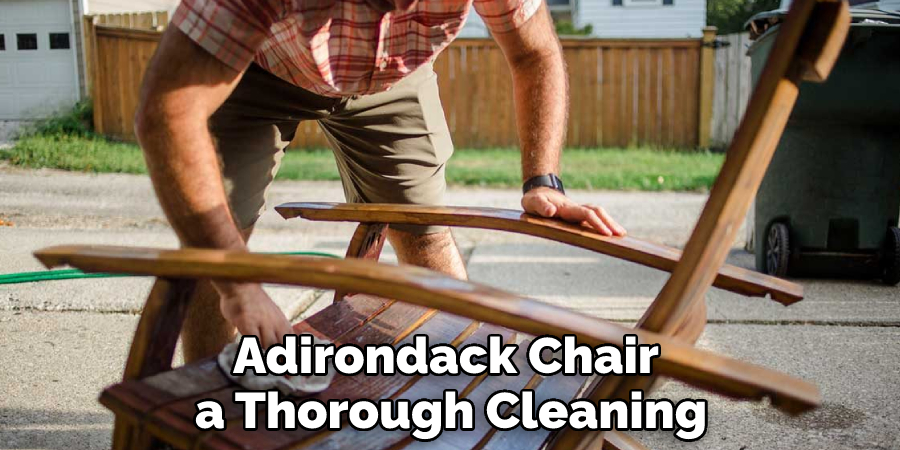
The first step in any restoration project is to prepare the surface for painting or staining. Start by giving your Adirondack chair a thorough cleaning with soap and water. Make sure to remove any dirt, dust, mildew, or other debris that has built up on the chair. Once it’s clean and dry, sand down any rough spots or splintered areas using fine-grit sandpaper. This will help ensure that your paint or stain adheres evenly and lasts longer.
After you’ve prepped the chair, it’s time to apply a primer coat. Primer helps to seal the wood and provide a better base for paint or stain. Make sure you use an exterior primer, as this will help protect your outdoor chair from the elements. Once the primer is dry, you can apply either a coat of paint or stain.
10 Methods on How to Restore Adirondack Chairs
1. Check for Damage
The first step in restoring your Plastic chairs is to check for any damage. Look for cracks, splits, or other signs of wear and tear. If you find any damage, you’ll need to repair it before you can proceed with the restoration. While many of these chairs are made from durable materials, they can still break down over time. Try to find replacement parts if possible to make sure your repairs are as safe and effective as possible.
2. Remove the Old Finish
Once you’ve checked for damage, you’ll need to remove the old finish from your chairs. You can do this by sanding the chairs with coarse-grit sandpaper. Be sure to sand evenly to avoid damaging the wood. If you’re using a power sander, use it cautiously to avoid creating gouges and scratches. Although a power sander will make the job faster and easier, you may prefer to do it by hand.
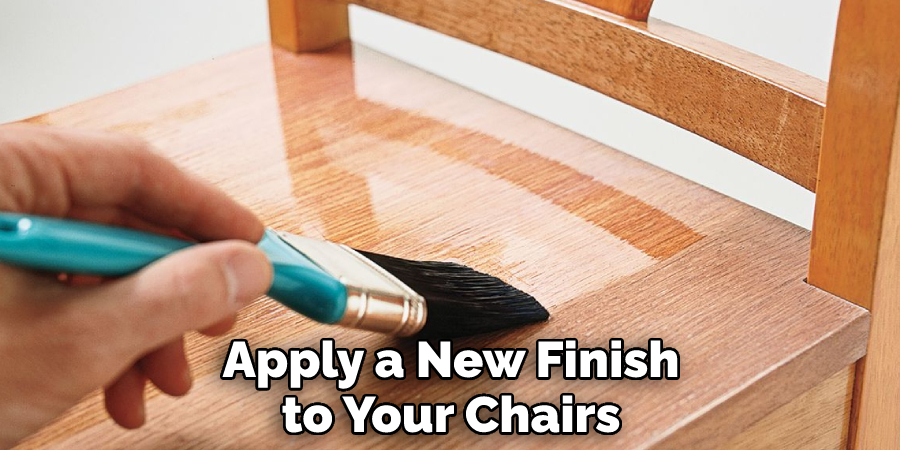
3. Apply a New Finish
After you’ve removed the old finish, you can apply a new finish to your chairs. You can use either a stain or a sealer to protect the wood and give it a new look. Be sure to follow the manufacturer’s instructions when applying the new finish. Although a sealer will provide more protection, it won’t do much to enhance the natural beauty of the wood. If you want to bring out the grain and color of the wood, use a stain instead.
4. Let the Finish Dry
Once you’ve applied the new finish, you’ll need to let it dry completely before using your chairs again. This usually takes 24-48 hours, so be patient and give the finish plenty of time to dry. You can speed up the process by using an electric fan or a hair dryer, but be sure not to blow any dust particles onto the wood. While you’re waiting for the finish to dry, you can start cleaning the other parts of the chair.
5. Enjoy Your Adirondack Chairs!
Once your chairs are dry, you can enjoy them for years to come! Be sure to take care of them by cleaning them regularly and keeping them out of direct sunlight when possible. With proper care, your Adirondack chairs will last for many years. However, if you find that they’re starting to look a bit worn out, you can always repeat the restoration process to give them new life.
6. Clean the Chairs before Refinishing
If you’re refinishing your chairs, make sure to clean cloth them before applying a new finish. You can do this by wiping down the chairs with a damp cloth and some mild soap. This will help remove any debris or dirt that may be stuck in the wood.
While you’re doing this, be sure to check for any signs of damage or wear and tear. If you find any, you’ll need to repair it before applying a new finish. Although it may be tempting to skip this step and just apply the new finish, it’s important to make sure your chairs are clean before doing so.
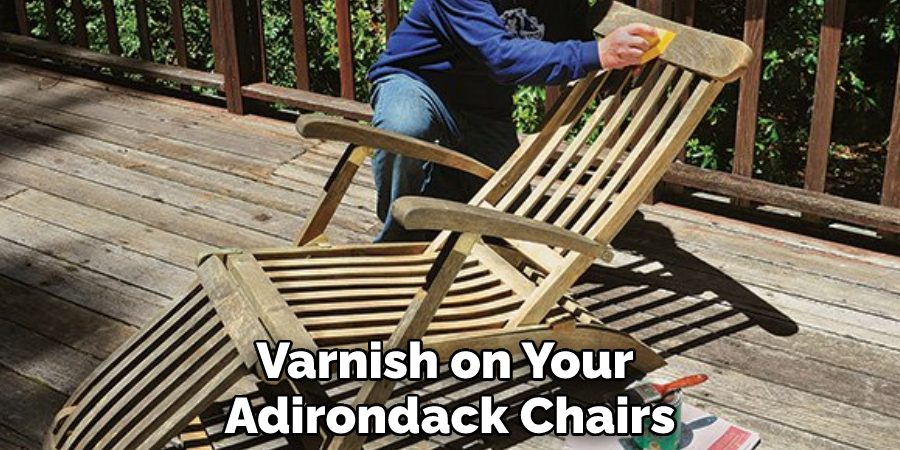
7. Strip Old Paint or Varnish
If there is exterior paint or varnish on your Adirondack chairs, you’ll need to strip it off before refinishing. You can do this using a chemical stripper, such as an eco-friendly citrus-based solution. Be sure to follow the instructions carefully when using these products. However, if you’d rather not use a chemical stripper, you can also sand the exterior paint tray or varnish it off. This may take some extra time, but it’s a safe and effective way to remove old paint or varnish.
You Can Check It Out to Store Extra Dining Chairs

8. Sanding Down Wood
Once you’ve stripped off the old paint or varnish, you’ll need to sand down the wood before applying a new finish. You can do this by using medium-grit sandpaper and sanding in the direction of the grain. While you’re doing this, make sure to check for any damage or imperfections. If you find any, you’ll need to repair them before applying a new finish.
Make sure to sand the entire surface and edges of your Adirondack chairs, as this will help ensure an even and smooth finish.
9. Replace Damaged Parts
If your chairs have any damaged parts, such as missing screws or broken slats, be sure to replace them before refinishing. This will help ensure that your Adirondack chairs look their best after restoration is complete. However, if you’re unable to find the exact replacement parts, you may need to purchase a new chair set.
Although this may cost more initially, it’s important to remember that this investment will pay off in the long run.
10. Apply New Finish After Sanding
After sanding down the wood, you can apply a new finish to protect it and give it a fresh look. Be sure to choose one that is suitable for outdoor use and follow the manufacturer’s instructions for application. This will help make sure your Adirondack chairs look their best for years to come.
If you’re using a pre-made finish, you can simply coats of paint it onto the chairs.
However, if you’re using a DIY finish, such as oil or varnish, you’ll need to brush it on with a natural-bristle brush. Once you’re done, let the finish dry completely before using your chairs.
Once you’ve completed these steps, your Adirondack chairs should be looking like new! Enjoy the fruits of your labor and have fun relaxing in your newly restored chairs. With a bit of effort, you can transform old furniture into something beautiful that will last for years to come.
You Can Check It Out To Measure a Recliner
Is Stain or Oil Better for Outdoor Furniture?
When it comes to outdoor furniture, there is no single answer as to which finish is best. It all depends on the type of wood and the look you’re going for. Generally speaking, the stain is better for giving wood a rich, colored hue, while the oil helps preserve the natural color of the wood and provides a more subtle finish.
Conclusion
Adirondack chairs are beautiful, classic pieces of outdoor furniture that can last for years with the proper care. With a little bit of elbow grease and the right tools, you can restore your Adirondack chairs to their former glory.
By following these simple steps on how to restore adirondack chairs, you’ll have your chairs looking great in no time. With these helpful tips, you can easily restore your Adirondack chairs to their original glory. So what are you waiting for? Get to work!
You Can Check It Out to Make Swivel Chair